R56 Update #3

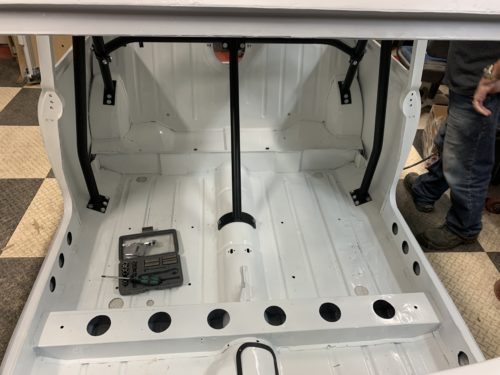
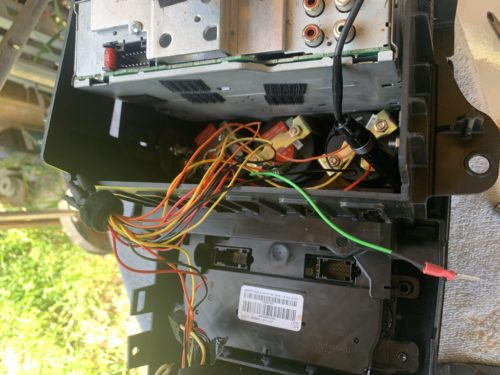
We may have finally gotten to the end of the electrical gremlins after many attempts to fix them. The awesome thing is to do it, I had to install a kick ass sound system. #winning

1) Removed the factory boost head unit

2) Bypassed the HiFi amp

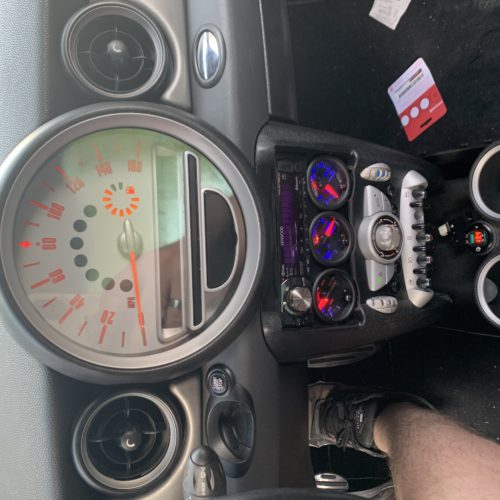
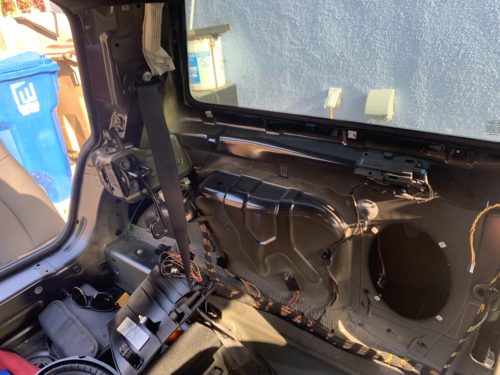
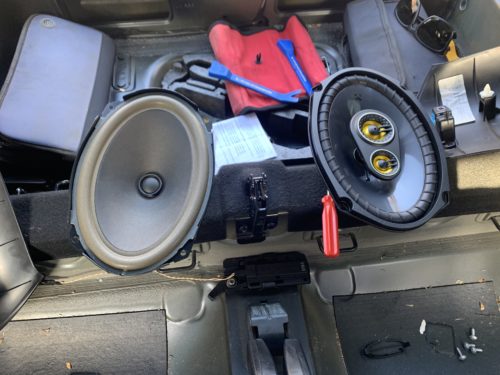
3) Installed a Kenwood  KDC-BT752HD head unit, two 6×9 Kicker CS 3-ways in the rear and two 6.5” Kicker CS 2-ways in the doors for a total of 10 speakers (4 highs, 2 mids, and 4 lows just like OEM). We used all Metra/Axxess Interfaces products to rewire and house these changes.

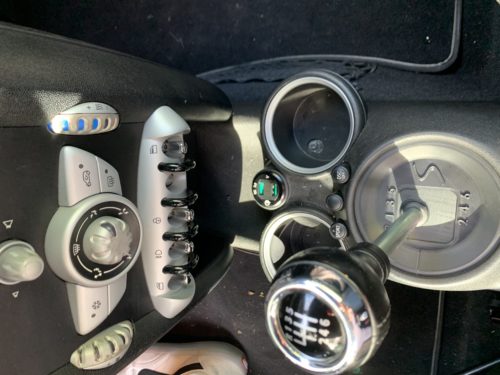
4) Added some Glowshift gauges to patrol how the engine is doing post thermostat replacement. We added boost, coolant temp, and oil pressure from the black 7 color line.

5) We went back to Cravenspeed for  all the necessary adapters to get the gauges functioning.

140 total views, no views today

R56 Update #2

So after a few months, and a few more repairs/mods, the car is really coming together.

1) Installed factory mud guards all around to help with the overspray from the oversized wheels.

2) Fitted both the Way Motor Works noise maker delete and the resonator delete in the boost lines.

3) Added a Cravenspeed dipstick and coolant temp adapter to the vehicle to make services easier. (We used the adapter in the bottom coolant hose as a drain plug instead of needing to pop a hose in the future.)

4) Replaced the thermostat after it failed.

5) As recommended, we have introduced PCV caps on the intake side to protect the valves and added a BSH oil catch can to the turbo side to reduce crud going into the turbo.

6) Gathered up all the missing covers, seals, and trim from the vehicle to get it back to factory fresh.

123 total views, no views today

R56 Update #1

So since the R56 came home, a few repairs and mods have taken place to make it more reliable aka, no more warning lights on the dash after fixing some electrical gremlins.

1) New Battery from Oreilly’s to See if that was the cause of the power failures.

2) New 16×8 (-15) Avid1 AV-12 Wheels Paired with Pirelli P7 Cinturato (205/50/R16) at 36psi

3) Plastidip’d the side mirrors and truck hatch white.

4) Installed a tow hook license plate bracket so no more zip-ties.

5) Replaced the broken antenna base to get rid of the blue painters tape.

6) Installed a bootless shifter cover since the old shift boot’s base was destroyed.

7) Fitted a dual USB cigarette lighter w/ volt reader to keep an eye on the battery levels.


142 total views, no views today

2009 (R56) Mini Cooper S

It may not be the classic mini, but I figured I might as well post it up since it’s the new baby in the garage.

153 total views, no views today

Fun and Games

It’s all fun and games until… wait, it’s a mini. It’s always fun and games!

285 total views, no views today

Roll Cage Going In

With the interior painted, it’s time to install the roll cage for the last time. We powder coated the spreader plates to be bolt in rather than weld in. That should give us more options later down the road. 

279 total views, no views today

Tail lights

The nibbler made short work of the original MK1 tail light holes to make them work with the standard corner lights. Now to finish the painting and begin the final install.


230 total views, no views today

Let There Be Paint!

The interior, firewall, boot and bottom have been successfully painted. It’s coming together!

294 total views, no views today

Finished Bits

We spent some time media blasting and powder coating to create some truly beautiful items to go on the exterior of the mini. I’m in love with the front license plate bracket. I think it will look much cleaner than it would if we would had drilled into the body.

208 total views, no views today

Rear Bumper & Valance

After nearly a whole day, we were able to mock up brackets to secure the rear bumper and to hold the rear valance in a location similar to OEM. The valance is completely bolt in so it can be removed for less drag on longer freeway runs at 65+ MPH. But for the day to day, we have added “speed holes” for increased airflow so we don’t end up with the air scoop you’d typically see when installed normally.

289 total views, no views today